
Build AOSP on ubuntu20.04 over ASUS Laptop
0. Prepare Ubuntu20.04 on laptop
Although Ubuntu 22.04 is better fitting in ASUS N7601 (2022) laptop, the building processes of AOSP on RISC-V are not suitable over it. I downgrade my Ubuntu to 20.04 for the building processes, and make a note here…
0.0. Prevent Ubuntu Black-screen on ASUS Laptop
-
Boot up from USB dongle to install ubuntu 20.04, use ‘Safe Graphic’ Mode to prevent screen blanking….
-
Select minimal install, without 3rd party driver to speedup and prevent blanking….
-
After done, ubuntu will bootup with safe vga driver.
-
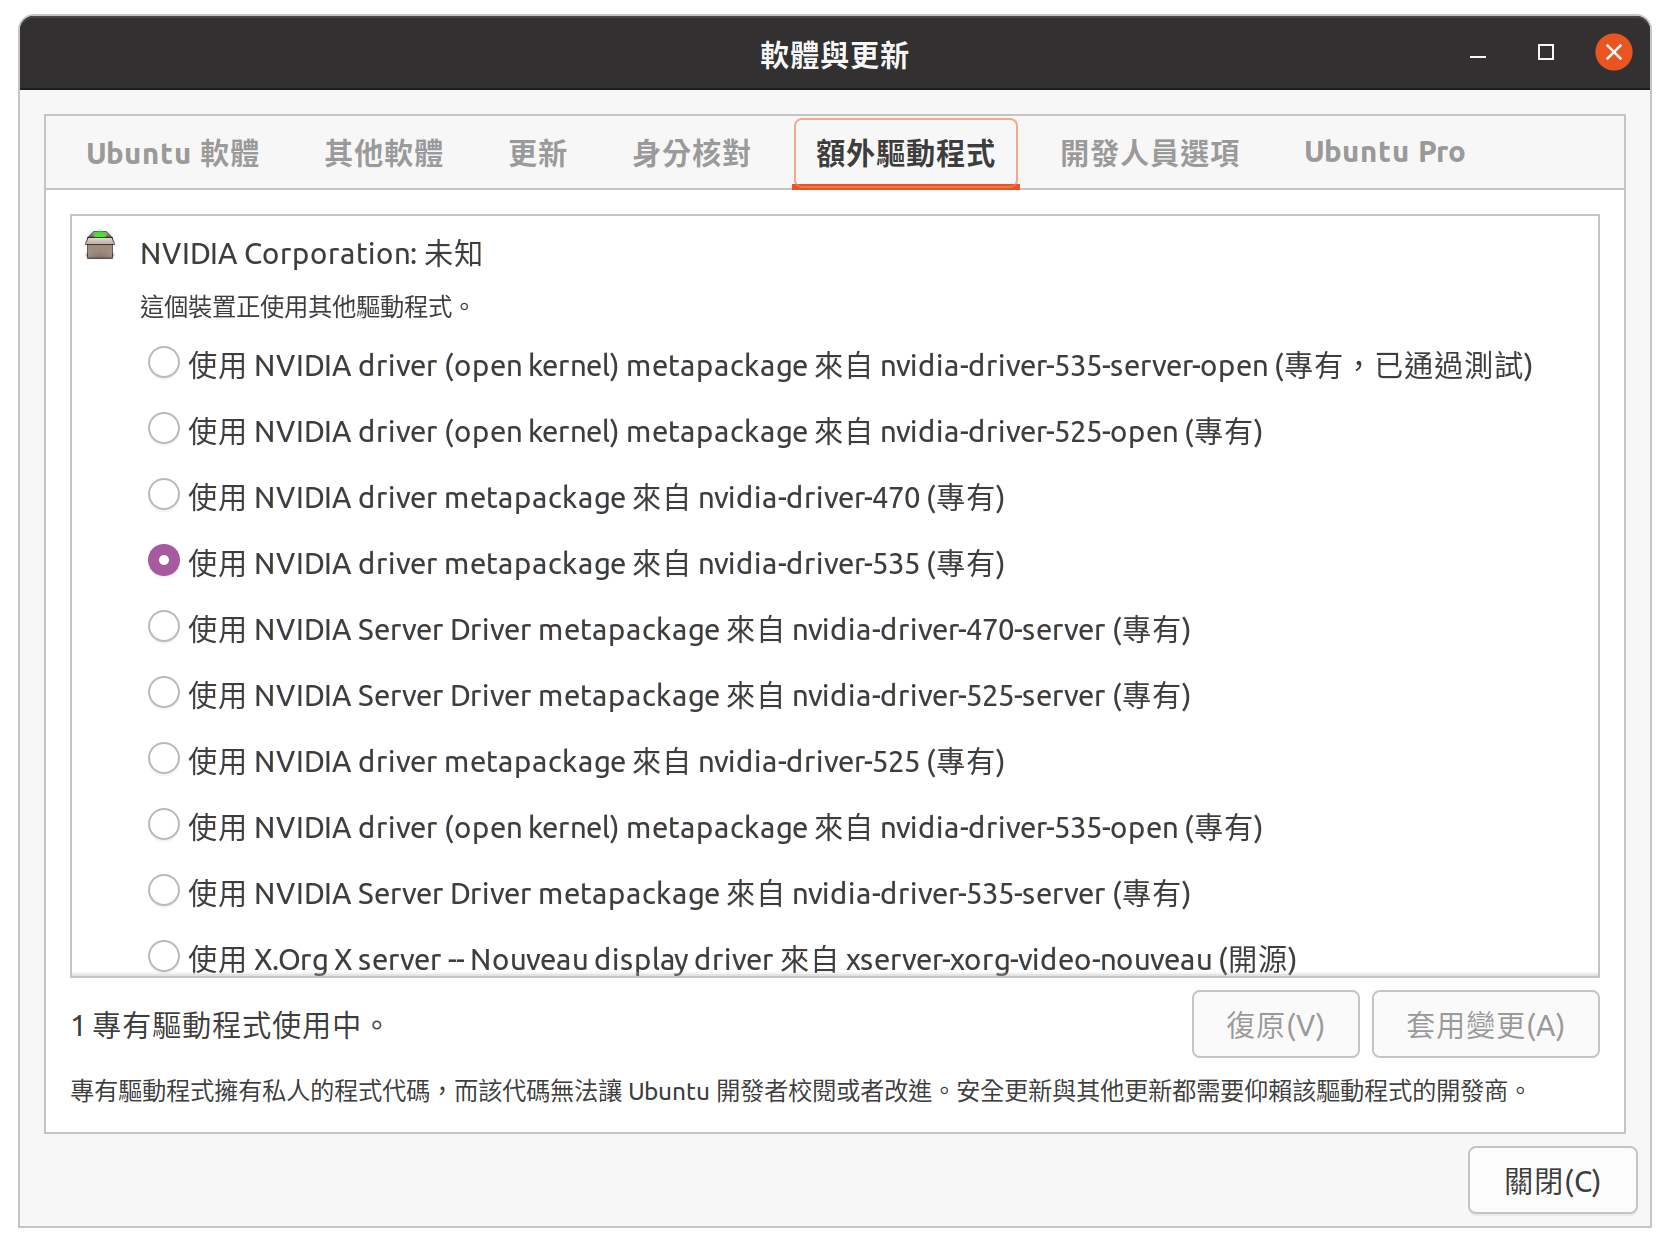
run "Software & Updates" app, choose "Additional Drivers" Tab, then we can select newest NVIDIA driver, but Nouveau driver is more compatible…
-
Driver make video blank? Press
Ctrl-Alt+F3thenCtrl-Alt+F1to get GUI back…
0.1. Turn on the Sound Card:
My laptop speakers are connected on /dev/snd/hwC1D0 soundcard, while the common hwC0D0 is the HDMI audio device. Since the speaker setting not work under Ubuntu 20.04, a little hacking after each boot up is needed.
The sound card registers needs to be set after bootup (for a little seconds, say 10 seconds), thus the crontab tool was used to do such setting. Steps:
-
install alsa-tools for sound card control:
apt install alsa-tools -
make a executable script with the following commands:
echo "sudo hda-verb /dev/snd/hwC1D0 0x20 0x500 0xf
sudo hda-verb /dev/snd/hwC1D0 0x20 0x400 0x7774
sudo hda-verb /dev/snd/hwC1D0 0x20 0x500 0x45
sudo hda-verb /dev/snd/hwC1D0 0x20 0x400 0x5289" |sudo tee /usr/local/bin/audioup

sudo chmod 755 /usr/local/bin/audioup- use
crontab -ecommand to edit the cron script, add the line below to schedule the soundcard setting at 8 sec after bootup:
@reboot sleep 8; /usr/local/bin/audioupThen the audioup script will be execute after each boot up.
0.2. Other Settings
- fstab ? ubuntu 20.04 ‘auto’ type seems work, no need be changed
# UUID=7CD2D855D2D814EC /mnt/c          ntfs    defaults,umask=007,gid=46 0  0
/dev/disk/by-uuid/7CD2D855D2D814EC /mnt/c auto rw,uid=cyue,nosuid,nodev,nofail,x-gvfs-show 0 0- Links
cd ~
# 標準目錄設置
rm -rf Documents Downloads Music Pictures Favorites Videos
ln -s /mnt/c/Users/cyue1/Documents ~/Documents
ln -s /mnt/c/Users/cyue1/Downloads ~/Downloads
ln -s /mnt/c/Users/cyue1/Music ~/Music
ln -s /mnt/c/Users/cyue1/Pictures ~/Pictures
ln -s /mnt/c/Users/cyue1/Favorites ~/Favorites
ln -s /mnt/c/Users/cyue1/Videos ~/Videos

# 繁體中文添加目錄設置(optional)
rm -rf 下載 圖片 影片 文件 音樂
ln -s Documents 文件
ln -s Downloads 下載
ln -s Music 音樂
ln -s Pictures 圖片
ln -s Videos 影片
1. 工具環境:AOSP Tools & Envelopment Settings
1.1 setup repo & python
sudo wget https://storage.googleapis.com/git-repo-downloads/repo
sudo mv repo /usr/local/bin/repo
sudo chmod a+rx /usr/local/bin/repo
sudo ln -s /usr/bin/python3 /usr/local/bin/python
1.2 get some tools
# get tools
sudo apt install -y git-core gnupg flex bison build-essential zip curl zlib1g-dev libc6-dev-i386 libncurses5 lib32ncurses5-dev x11proto-core-dev libx11-dev lib32z1-dev libgl1-mesa-dev libxml2-utils xsltproc unzip fontconfig ninja-build python3-pip

# usb control:
sudo usermod -aG plugdev $LOGNAME
sudo apt install android-sdk-platform-tools-common
1.3 set git name & email for android.googlesource.com
git config --global user.email "cyue12@google.com"
git config --global user.name "cyue12"
1.4 Gen. android.googlesource.com keys (optional)
- browse & login with your google account :
https://android.googlesource.com/new-password- get and execute your password script generated from website:
eval 'set +o history' 2>/dev/null || setopt HIST_IGNORE_SPACE 2>/dev/null
 touch ~/.gitcookies
 chmod 0600 ~/.gitcookies

 git config --global http.cookiefile ~/.gitcookies

 tr , \\t <<\__END__ >>~/.gitcookies
android.googlesource.com,FALSE,/,TRUE,2147483647,o,git-cyue12.gmail.com=1//0g_qocQb1SED6CgYIARAAGBASNwF-L9IrNF3Ig-VWzWAvMP_Ve8jstFG-B2VhmNf6QeotHF9uaw86IxkITTqsAe0L2v_wQtLxApo
android-review.googlesource.com,FALSE,/,TRUE,2147483647,o,git-cyue12.gmail.com=1//0g_qocQb1SED6CgYIARAAGBASNwF-L9IrNF3Ig-VWzWAvMP_Ve8jstFG-B2VhmNf6QeotHF9uaw86IxkITTqsAe0L2v_wQtLxApo
__END__
eval 'set -o history' 2>/dev/null || unsetopt HIST_IGNORE_SPACE 2>/dev/null
2. 取得 AOSP 的倉庫資源
make aosp path:
mkdir aosp
cd aosp
repo init with a path for your account, then sync paralleling
#repo init -u https://android.googlesource.com/a/platform/manifest
repo init -u https://android.googlesource.com/a/platform/manifest -c -b master
repo sync -c -j20
fail on repo? try
-j1 --fail-fastagain…:repo sync -c -j1 --fail-fasthint: normal repo without keys from 1.4
repo init -u https://android.googlesource.com/platform/manifest -c -b master
repo sync -c -j20
3. 選擇RiscV套餐建立工程
# 1. AOSP 環境參數設置
cd ~/aosp
. build/envsetup.sh

# 2. 選擇 cuttlefish riscv64 套餐
lunch 10

# 3. 先全速,失敗再用系統可穩定運行速度編譯
#m -j all
m -j14 all
4. 為 RiscV64的Cuttlefish建構最新QEMU
- 要足夠新的QEMU才能進行 RiscV64的模擬,這裡選 8.0.4。
- 自行編譯安裝的QEMU在運行 Cuttlefish時,要指定qemu安裝位置參數。如預設的安裝位置:
-qemu_binary_dir=/usr/local/bin
-
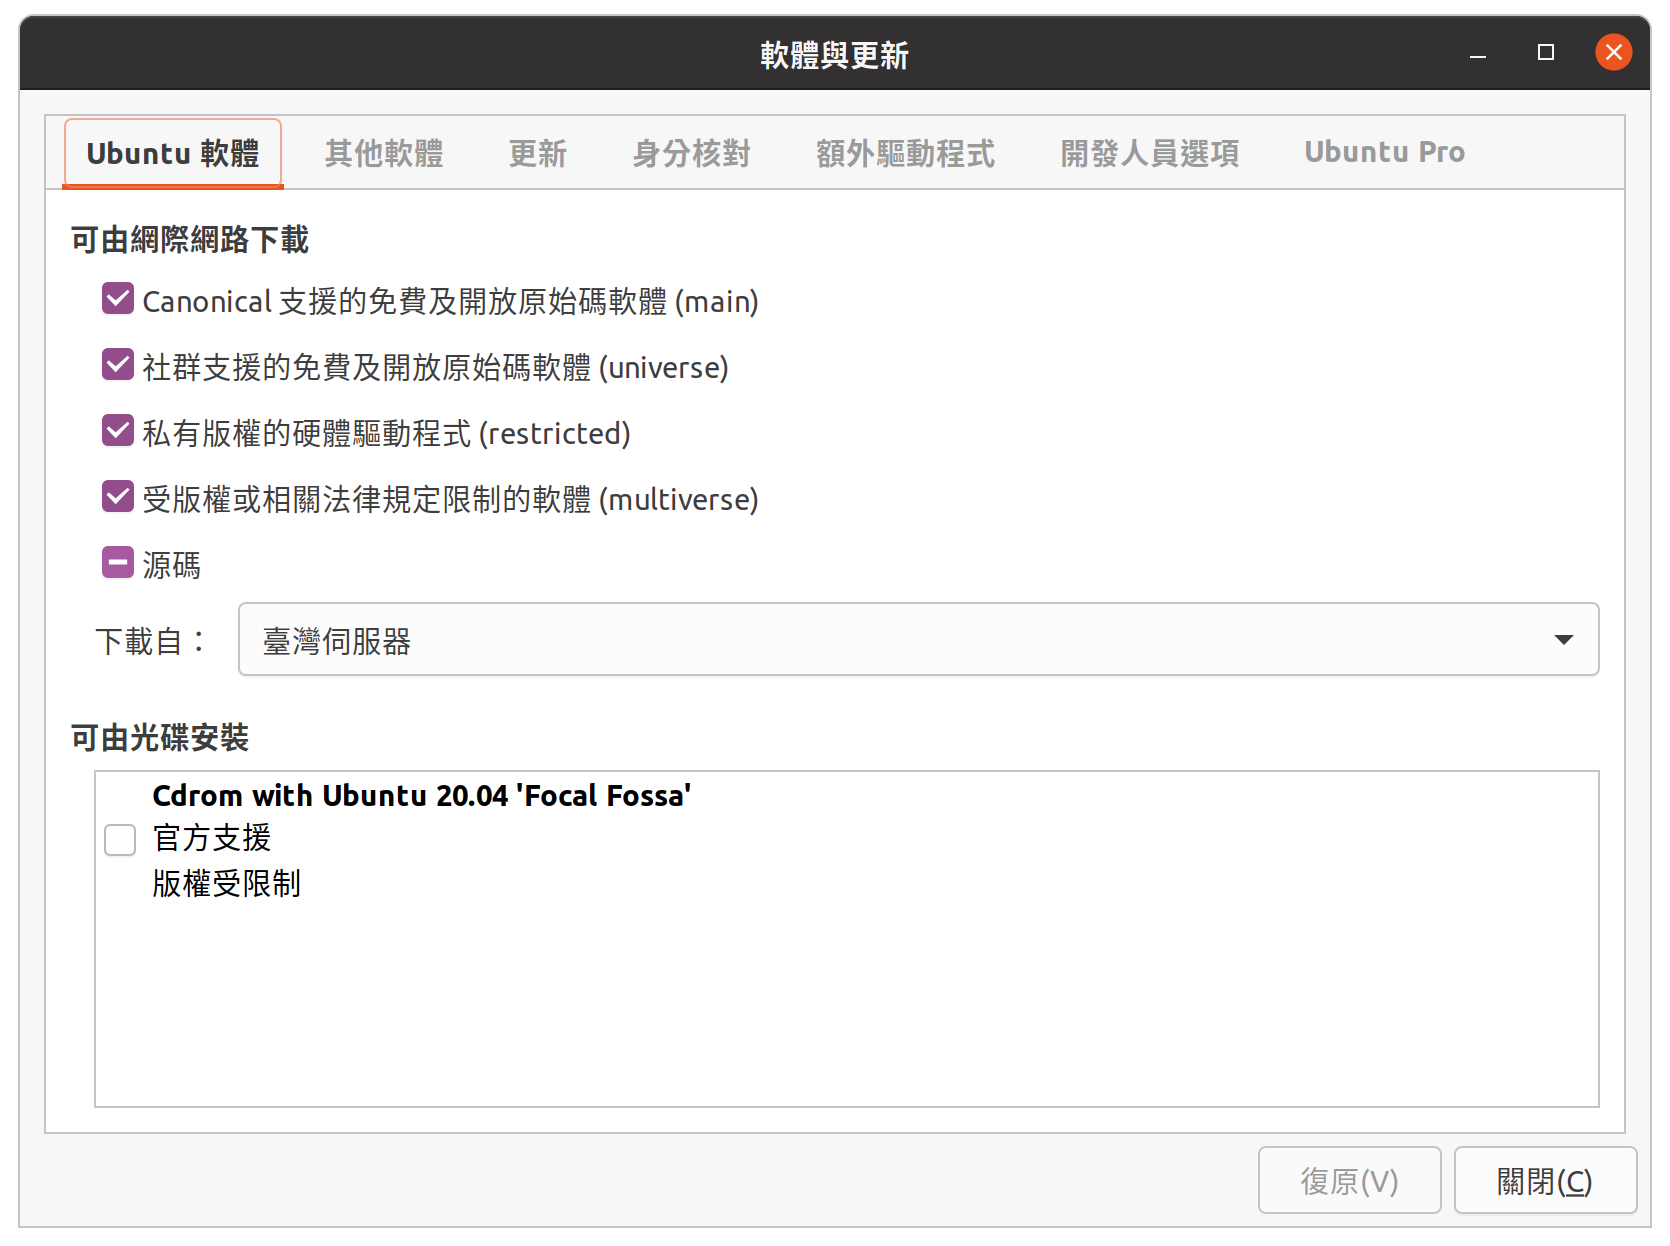
software & update app: on "Ubuntu Software" tab, check "Source code" item.
-
then add qemu dependencies:
sudo apt build-dep qemu -y- (optional) add more supporting lib for qemu:
sudo apt install libusb-dev libsdl2-dev libsdl2-image-dev libjpeg-dev libpng-dev pulseaudio alsa virgl-server libsasl2-dev libopengl-dev iasl indent flex bison- download / build / install QEMU:
wget https://download.qemu.org/qemu-9.0.2.tar.xz
tar -xvf qemu-9.0.2.tar.xz

cd qemu-9.0.2/
mkdir build
cd build

../configure
make -j
sudo make install
- The default install path is /usr/local, thus the qemu_binary_dir parament of cuttlefish willbe ‘/usr/local/bin‘.
5. 安裝 CuttleFish
- 在终端窗口中,下载、构建和安装主机 Debian 软件包:
cd ~
  ## 1. prepare tools
  sudo apt install -y git devscripts config-package-dev debhelper-compat golang curl ssh

  ## 2. get git
  git clone https://github.com/google/android-cuttlefish

  ## 3. build deb
  cd android-cuttlefish
  ## cyue add line, skip '@v1.31':
  sed -i 's/protoc-gen-go@v1.31/protoc-gen-go/g' frontend/debian/rules
  for dir in base frontend; do
    cd $dir
    debuild -i -us -uc -b -d
    cd ..
  done

  ## 4. install deb, *-orchestration conflicts with *-user, remark it...
  sudo dpkg -i ./cuttlefish-base_*_*64.deb || sudo apt-get install -f -y
  sudo dpkg -i ./cuttlefish-user_*_*64.deb || sudo apt-get install -f -y
  sudo dpkg -i ./cuttlefish-common_*_*64.deb || sudo apt-get install -f -y
  sudo dpkg -i ./cuttlefish-integration_*_*64.deb || sudo apt-get install -f -y
  #sudo dpkg -i ./cuttlefish-orchestration_*_*64.deb || sudo apt-get install -f -y

  ## 5. set cvd w/ kvm, then reboot to enable
  sudo usermod -aG kvm,cvdnetwork,render $USER
  sudo reboot
cuttlefish-integration 會安裝 qemu,但系統的qemu太老了,需要自行編譯最新的qemu才能跑riscv64。實測 qemu 8.0.4 OK。
重启会触发安装额外的内核模块并应用udev规则。
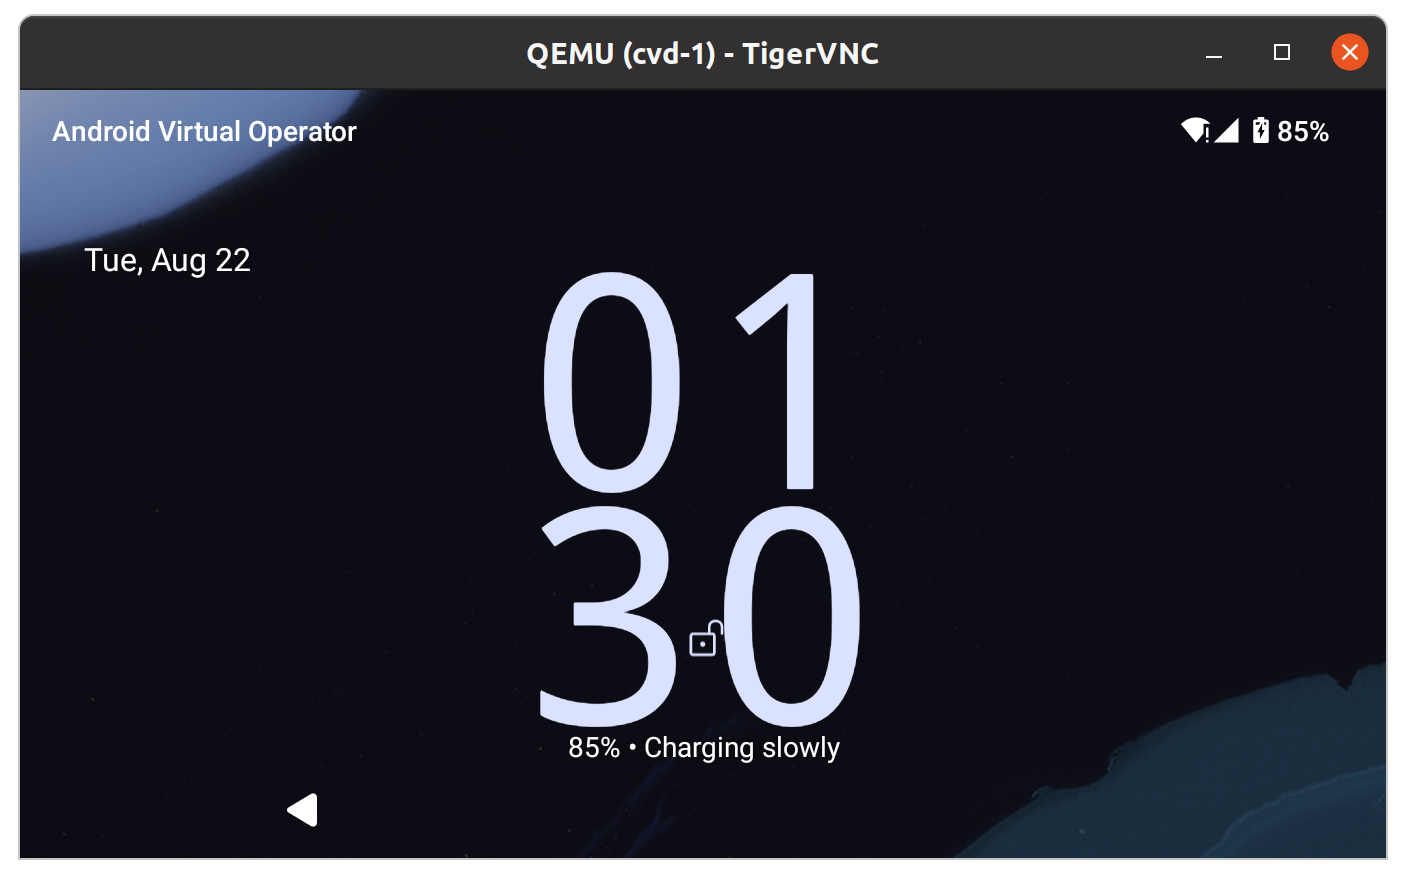
RISCV64的 cultterfish 未完成,許多功能不可行,但可以用VNC連接顯示。
6. 運行 Cuttlefish模擬環境,並透過VNC控制模擬
- launch cuttlefish emulator
cd ~/aosp
. build/envsetup.sh
lunch 10

launch_cvd -cpus=8 --memory_mb=8192 --gpu_mode=drm_virgl \
-qemu_binary_dir=/usr/local/bin \
--display=width=1366,height=768 \
--start-webrtc=true-
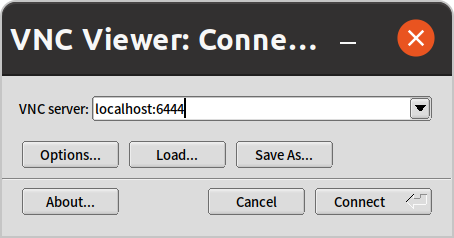
VNC screen. TigerVnc: connect to: locallhost:6444
-
about 5 minutes…
Ref: gpg –import key
call:
gpg --importthen cut-n-copy following to the program and press ^D to setup GPG
key
-----BEGIN PGP PUBLIC KEY BLOCK-----
Version: GnuPG v1.4.2.2 (GNU/Linux)

mQGiBEnnWD4RBACt9/h4v9xnnGDou13y3dvOx6/t43LPPIxeJ8eX9WB+8LLuROSV
lFhpHawsVAcFlmi7f7jdSRF+OvtZL9ShPKdLfwBJMNkU66/TZmPewS4m782ndtw7
8tR1cXb197Ob8kOfQB3A9yk2XZ4ei4ZC3i6wVdqHLRxABdncwu5hOF9KXwCgkxMD
u4PVgChaAJzTYJ1EG+UYBIUEAJmfearb0qRAN7dEoff0FeXsEaUA6U90sEoVks0Z
wNj96SA8BL+a1OoEUUfpMhiHyLuQSftxisJxTh+2QclzDviDyaTrkANjdYY7p2cq
/HMdOY7LJlHaqtXmZxXjjtw5Uc2QG8UY8aziU3IE9nTjSwCXeJnuyvoizl9/I1S5
jU5SA/9WwIps4SC84ielIXiGWEqq6i6/sk4I9q1YemZF2XVVKnmI1F4iCMtNKsR4
MGSa1gA8s4iQbsKNWPgp7M3a51JCVCu6l/8zTpA+uUGapw4tWCp4o0dpIvDPBEa9
b/aF/ygcR8mh5hgUfpF9IpXdknOsbKCvM9lSSfRciETykZc4wrRCVGhlIEFuZHJv
aWQgT3BlbiBTb3VyY2UgUHJvamVjdCA8aW5pdGlhbC1jb250cmlidXRpb25AYW5k
cm9pZC5jb20+iGAEExECACAFAknnWD4CGwMGCwkIBwMCBBUCCAMEFgIDAQIeAQIX
gAAKCRDorT+BmrEOeNr+AJ42Xy6tEW7r3KzrJxnRX8mij9z8tgCdFfQYiHpYngkI
2t09Ed+9Bm4gmEO5Ag0ESedYRBAIAKVW1JcMBWvV/0Bo9WiByJ9WJ5swMN36/vAl
QN4mWRhfzDOk/Rosdb0csAO/l8Kz0gKQPOfObtyYjvI8JMC3rmi+LIvSUT9806Up
hisyEmmHv6U8gUb/xHLIanXGxwhYzjgeuAXVCsv+EvoPIHbY4L/KvP5x+oCJIDbk
C2b1TvVk9PryzmE4BPIQL/NtgR1oLWm/uWR9zRUFtBnE411aMAN3qnAHBBMZzKMX
LWBGWE0znfRrnczI5p49i2YZJAjyX1P2WzmScK49CV82dzLo71MnrF6fj+Udtb5+
OgTg7Cow+8PRaTkJEW5Y2JIZpnRUq0CYxAmHYX79EMKHDSThf/8AAwUIAJPWsB/M
pK+KMs/s3r6nJrnYLTfdZhtmQXimpoDMJg1zxmL8UfNUKiQZ6esoAWtDgpqt7Y7s
KZ8laHRARonte394hidZzM5nb6hQvpPjt2OlPRsyqVxw4c/KsjADtAuKW9/d8phb
N8bTyOJo856qg4oOEzKG9eeF7oaZTYBy33BTL0408sEBxiMior6b8LrZrAhkqDjA
vUXRwm/fFKgpsOysxC6xi553CxBUCH2omNV6Ka1LNMwzSp9ILz8jEGqmUtkBszwo
G1S8fXgE0Lq3cdDM/GJ4QXP/p6LiwNF99faDMTV3+2SAOGvytOX6KjKVzKOSsfJQ
hN0DlsIw8hqJc0WISQQYEQIACQUCSedYRAIbDAAKCRDorT+BmrEOeCUOAJ9qmR0l
EXzeoxcdoafxqf6gZlJZlACgkWF7wi2YLW3Oa+jv2QSTlrx4KLM=
=Wi5D
-----END PGP PUBLIC KEY BLOCK-----
留言